Have you ever hired a contractor thinking that both sides had an agreement on deliverables, but near the end of the project you realise you’ve just lost a ton of money? This is such a common occurrence because most people don’t know what to look for in software until they can actually use it, but building a prototype helps reduce risk.
At Flying Donkey, Prototypes are one of the primary on-ramps to becoming the go-to developer for our SaaS and SMB clients. We take these projects seriously as they are the basis for success going forward, but you might not be familiar with prototypes and their benefits so we’re going to discuss some of the most frequently asked questions.
We’ll discuss:
- What are Prototypes and Wire Frames?
- What’s are the difference between prototypes and wireframes?
- How do you build a prototype or wireframe?
- What are the benefits of a prototype/wireframe?
- build relationship
- low risk, small project
- Something to show investors before development begins
- Easier for developers to use
- How much does a wireframe cost to design?
We’ve included some examples of our prototypes and wireframes to give you an idea of what they look like. Let’s get started!
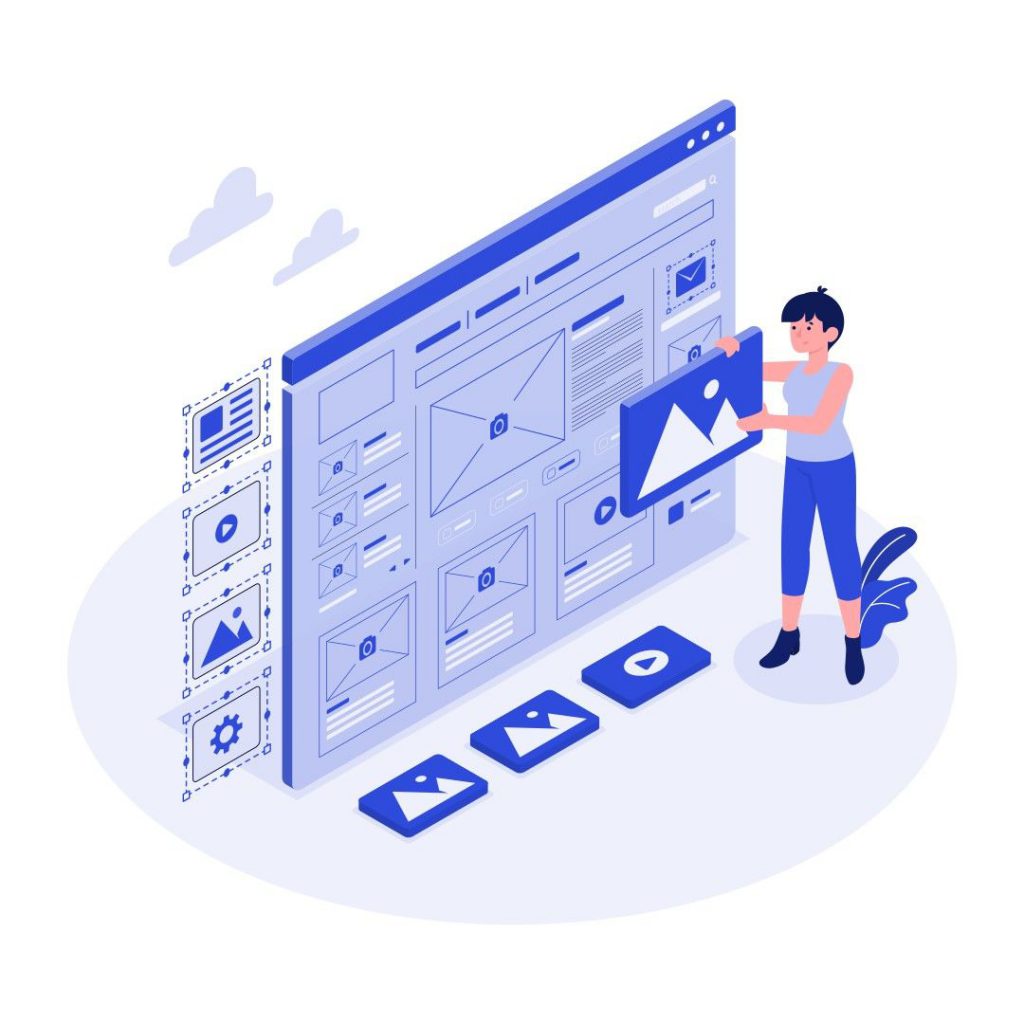
What are prototypes and wireframes?
One of the most difficult aspects of product development is understanding what users (and clients!) need and want. You’ll encounter this problem a lot in the design phase. Your app’s design is the most important part to your end-users, as it’s what they’ll actually be interacting with once your product is built.
Your design can make or break the success of your app, so you want to make sure you’re getting it right from day one. The best way to do this is to build a visual representation of the user interface and get approval before beginning development.
As someone with decades of building software, and later, SaaS for major enterprises, I can tell you that one of the most effective ways to validate your app design ideas is wireframing and prototyping. These are two very efficient methods of exposing your design ideas to stakeholders.
In addition, they allow you to rapidly explore and test different concepts early on in your design process and help you avoid investing too much effort into something that won’t work well with your audience.
What’s the difference between prototypes and wireframes?
Prototypes and wireframes are both parts of the product design process. They involve creating a representation of how your product will work before you actually build it.

Wireframes, also known as key screens, are very simple (low-fidelity) visual depictions of an interface. They often consist of simple shapes, boxes, fields, and labelled buttons, hence the name. Because of their simplicity, wireframes can be created in a short time. You can rapidly develop, test, and discard ideas through them.
Prototypes, on the other hand, are higher-fidelity depictions of the interface and interaction design. They are intended to provide a closer representation of how the final product might look and are usually created when you have a good design solution after the wireframing phase.
Prototypes can be as simple as visual layouts done using design software or even cardboard, or they can be as complex as clickable, interactive designs running on actual hardware.
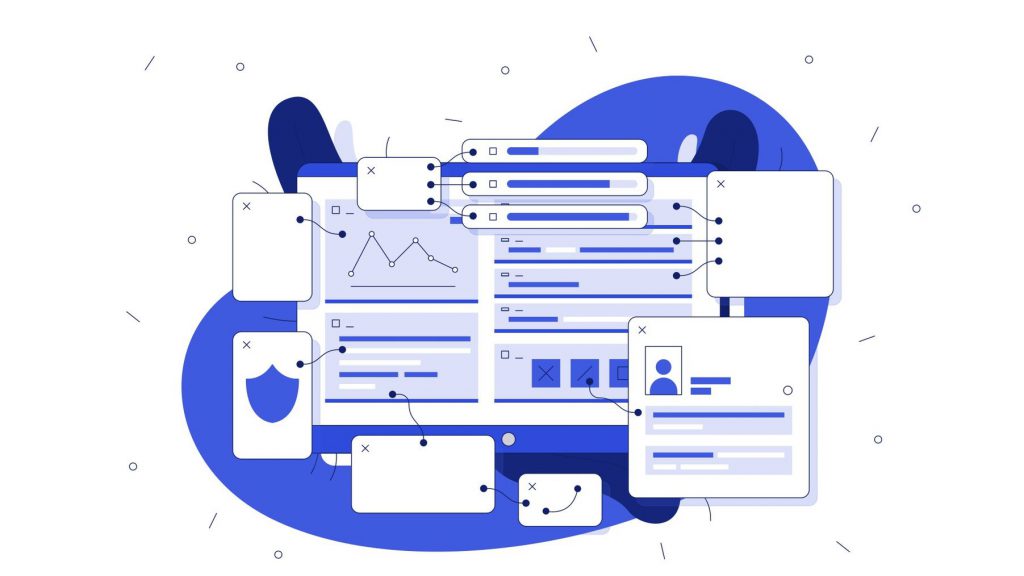
How do you build prototypes and wireframes?
Prototypes and wireframes have similar purposes behind them. However, the approaches to building each will be slightly different because of their varying fidelity.
Wireframe
The most important thing to remember when wireframing is that the process is supposed to be fast and easy. Wireframes are designed to rapidly test ideas and filter out the ones that don’t work in a short amount of time.

1. Set up your user stories
Your wireframes need to represent the flow of your user through your product. That means they need to be able to handle each of your user stories. So prepare the user stories you’ll be working on, and ensure that each wireframe design you create addresses them!
2. Draft your wireframes
When you’re actually creating the wireframes, remember to use a medium that conveys your idea effectively yet is comfortable for you to use. For example, you can use dedicated UI design tools like Figma or simple graphic design platforms like Canva. Heck, if you want to draft your wireframes with pen and paper, that’s valid too!
The ultimate goal of each wireframe is to present the layout and direction of information and interactive elements as clearly as possible. Again, keep it fast and easy. Some tips:
- Use just one or two fonts. Keep your visual design language very simple.
- Keep it as monochromatic as possible! Don’t think about your usage of colours that can come later.
- Don’t include images unless necessary. Instead, leave an image icon or just the text “IMAGE” in a box where a picture or diagram would be.
3. Test each wireframe with stakeholders
This is a little something I like to call “test and toss.” Basically, while testing—whether internally or to your clients or target market—you want to be able to convey your interface ideas as quickly as possible. Then, you want to be able to discard bad ideas just as quickly. Don’t get too attached to any particular wireframe! You can still derive inspiration from failed design ideas when you finally build your prototype.
Prototype
Prototypes have a similar process to wireframes, but they’re more involved because they’re working off ideas that have already been met with approval.
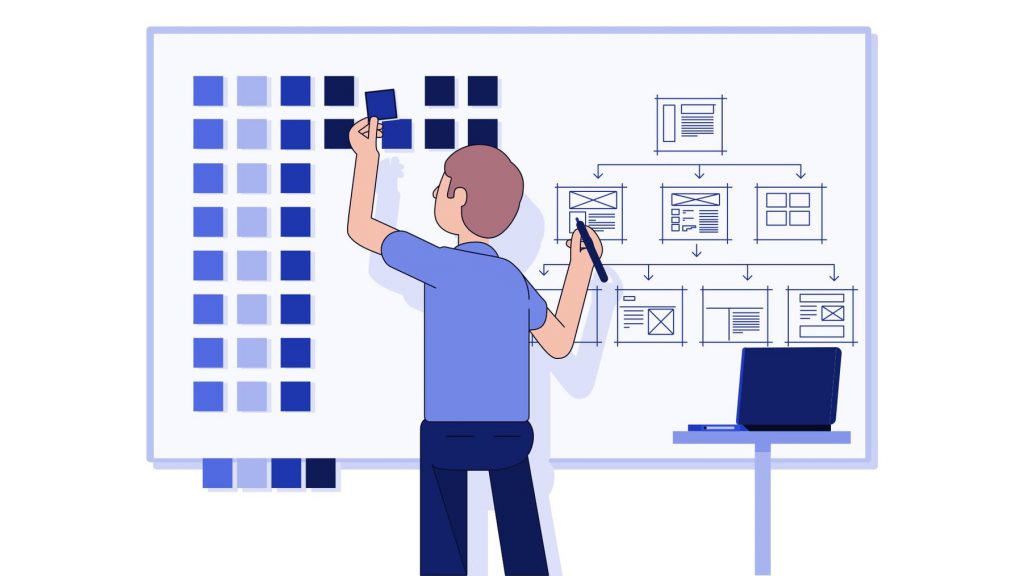
1. List down your requirements
At this point, you need to include user stories as well as feedback from your requirement. You won’t just be haphazardly generating ideas in a stream of consciousness mode anymore. The prototype must be close to the final functionality of the product.
2. Build the prototype
Whether with cardboard or UX design software, your prototype has to be capable of representing the way users interact with the product.
The kind of prototype you create should reflect your intent. For example, when testing usability internally, creating cardboard prototypes that you can physically interact with is a very efficient way of discovering problems.
Meanwhile, if you already have end-users test the product, you might want to create a clickable prototype on actual devices. This will allow users to provide more honest feedback from the actual platform on which the final product will be released.
3. Test and refine
With your prototype accomplished, it’s time to test your product designs. You can demonstrate your prototype in a product demo-style presentation to investors or clients. Alternatively, you can give them the demos and ask for their feedback if you have an interactive prototype. You can also use focus groups composed of actual end-users to get real-world feedback on your product.
With your feedback, you can continuously refine your prototype and show your stakeholders new variations with every presentation. Unlike wireframing, it’s rarer for you to throw out an entire prototype design at a time—though you still need to be open to this happening.
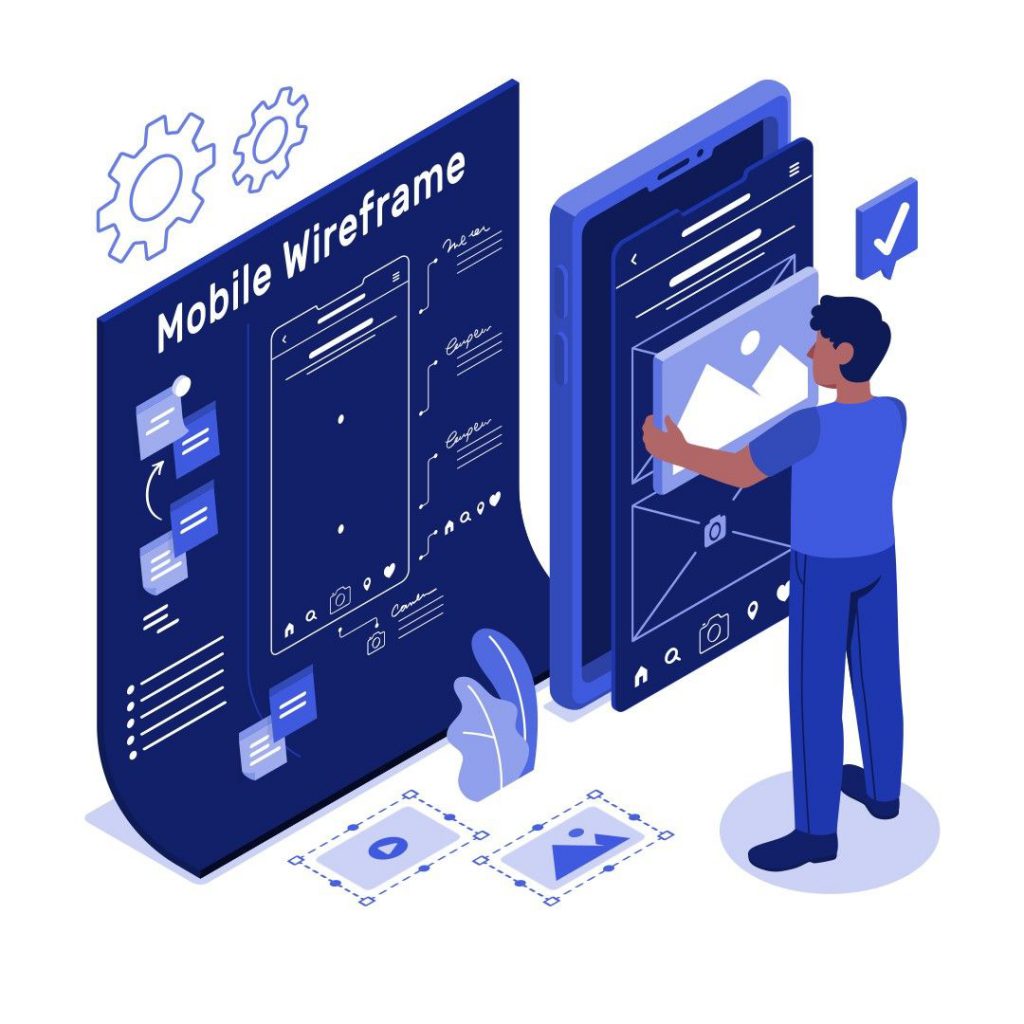
What are the benefits of building prototypes and wireframes?
Prototypes and wireframes are an essential part of the product development process. They have several benefits that you definitely won’t want to skip out on!

1. They help establish a relationship with your stakeholders
Approving key screens and wireframes will be one of your first highly involved touchpoints with your clients, investors, and users. They will become an important part of the process, as they provide feedback and help refine the ideas with each iteration. This will also give them a glimpse at the evolution of the product you’re creating together.
2. Something to show investors before development begins
Of course, making wireframes or prototypes is nowhere near the cost of actually developing a working project. However, the very visual nature of wireframes and prototypes makes them perfect for showing off to investors. You can’t undersell the benefits of good visual presentation—an effective prototype can convey a product idea better than any 100-page written product spec.
3. Relatively low-risk for their benefits
Prototypes and wireframes benefit ideation, testing, and even investor marketing and sales, all at a relatively low cost. So it’s a no-brainer to invest in making them.
4. It’s easier for developers to work off prototypes and wireframes
If you give your developers a text-heavy description of what your product should look like, they may have to spend additional effort interpreting your de11scriptions or asking for clarifications about the user flow. Wireframes and prototypes leave less room for ambiguity, giving developers a high-level idea of the interface design and user journey.

How much do wireframes and prototypes cost to design?
It can take anywhere between 1 and 2 hours to make a unique key screen for an app and about 30 minutes to make a subordinate screen. Depending on the number of screens and complexity is could take a few hours or multiple weeks.
Once wireframes are made, They’ll be turned into a prototype that will look like the gif below.
They should be no more than a few hundred dollars per screen. Our prototypes start at around $1,000 and go up from there based on the complexity and number of screens.
Quality prototyping and wireframing at every stage

I’ve explained how important prototyping and wireframing are in product development and good UX design. This is especially true with SaaS projects where your bespoke requirements might not have any inspiration to draw from. You want your original designs to be as efficient as possible when they’re finally released to the market.
At Flying Donkey, we offer complete user experience design services as part of our SaaS building. We’ll work closely with you to determine your needs, involving you in design decisions and considering your feedback at every stage. We’ll also proactively suggest new approaches, backed by our years of experience in the field.
Contact us to schedule a free consultation. Let’s accelerate your SaaS roadmap!


